

Following the completion of The Coffee Table and the Jubilee Sim, I was in a bit of a mini sim mode so thought I'd transfer some of the design characteristics to a body board. A solid wooden board had been on the cards for a long time so a mini, mini sim seemed the ideal candidate for this.
I managed to get hold of five balsa planks from a supplier of wood for wooden aircraft which I teamed up with some unspecified hardwood that I bought at the local DIY store Homebase. As sod would have it the hardwood planks were slightly too short to simply be cut in half and were slightly too narrow to be used as they came so I ended up having to buy 5 hardwood planks, split one in to four then cut and glue the strips to match the balsa planks.
The original plan was to create a chambered balsa paipo based on the design of my Catch Surf Beater board, primarily because the five planks teamed up roughly matched the size of the Beater board, however as the board wasn't especially thick I decided that the benefits in weight reduction weren't worth the reduction in structural integrity.

The shape of the board was based on The Jubilee Sim board with a slightly more pulled in nose and slightly straighter outline. One thing I was looking forward to with this board was playing around with concaves and channels that would be a lot more complicated to replicate with a hollow wooden board.
The base on the other hand would have a mix of concaves, belly and channels, again similar to the Beater board as well as some influences from Tom Wegeners Tuna board. The intention was for the board to be primarily finless but with two small single FCS plugs to add some small fins later for some extra control should should they be necessary.


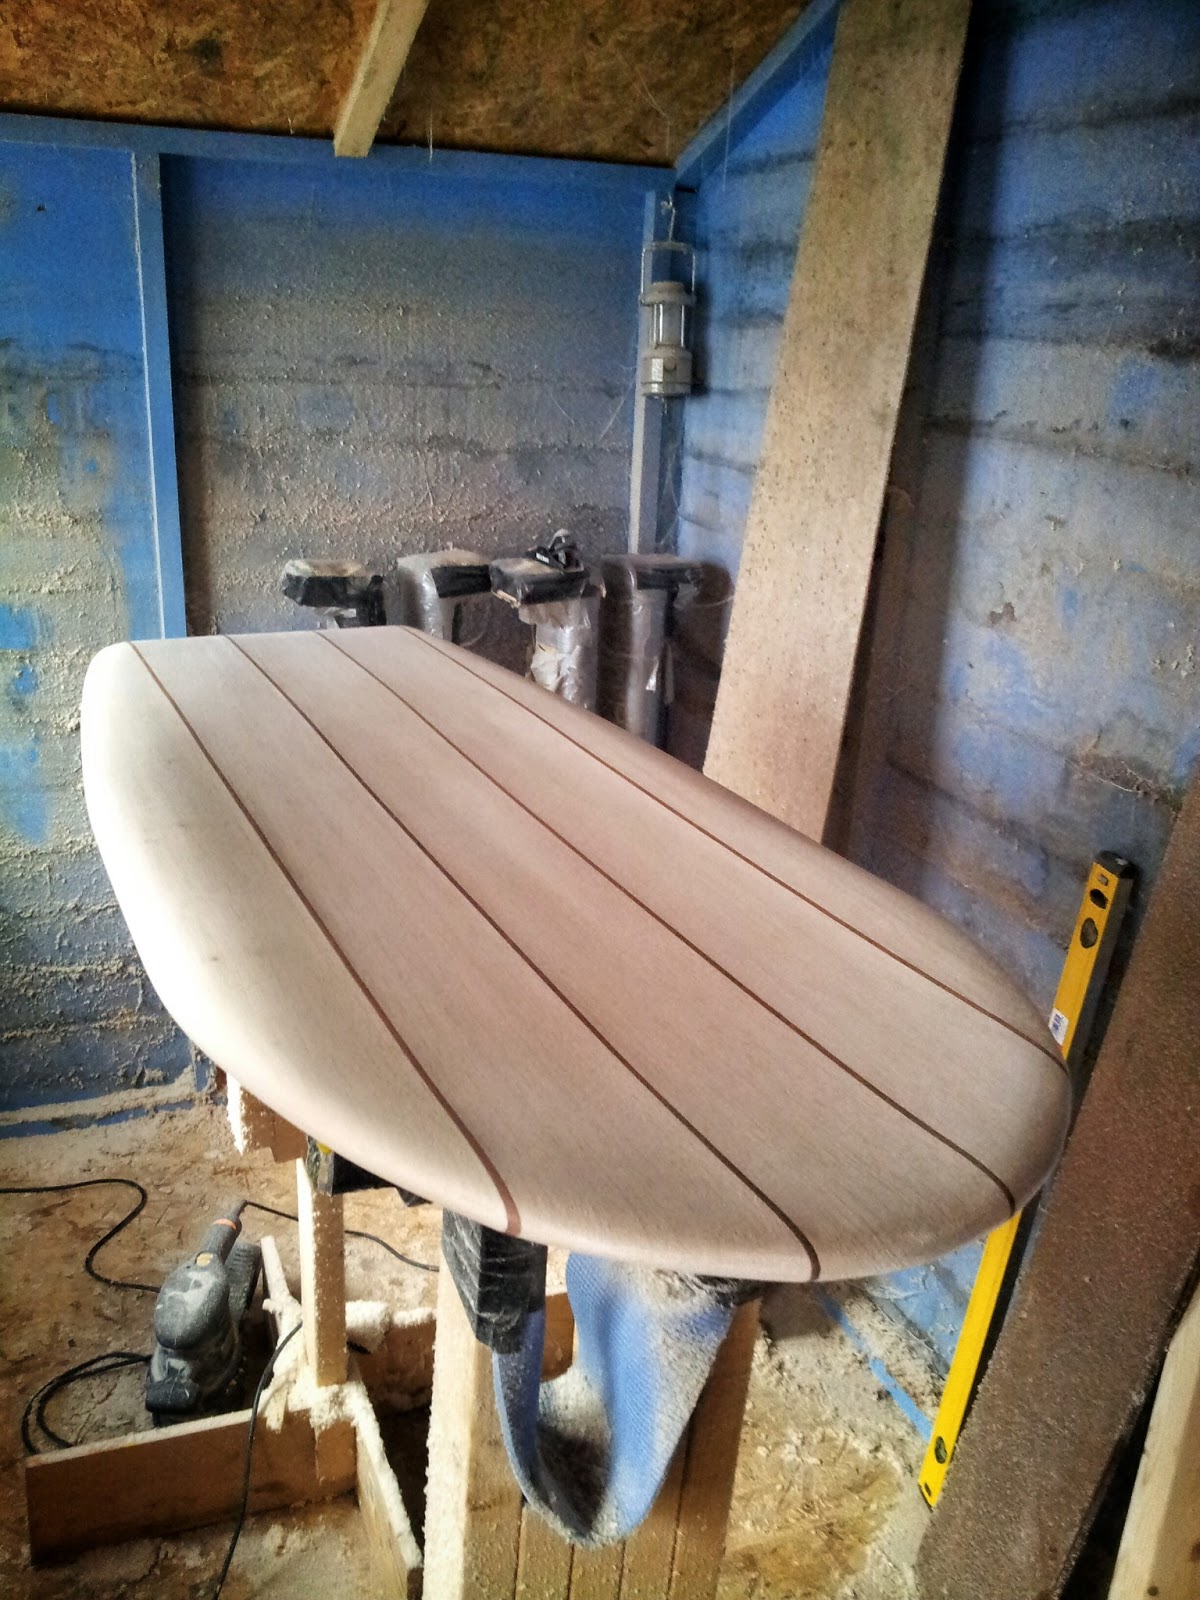
Blank glueing was a time consuming process, done one strip at a time and making full use of the kitchen table before the outline was traced and the board cut out.


Next task was to sand in some bottom rocker and flatten the base ready for some concaves. The rails were sanded back by just over a centimetre deep and seven centimetres wide, similar to that of my Catch Surf Beater, but I also added a centimetre deep concave too.


On the deck I spooned out a large area towards the nose keeping a lot of volume around the hard rails.


A week of consideration followed where I as the roughed out board lay propped up in the corner of my living room as I considered the next step. The shape was finally finished off by rounding out the nose and widening the nose spoon closer to the edges. The aim with the nose spoon was to reduce some weight by scooping out some volume at the top third where it's not really needed which should also make duck diving easier. I left more volume through the middle third where most of my weight should be when paddling it, the base at the tail has been pulled up at the back third to add more rocker.

On the base I went for a somewhat experimental four stage arrangement with a belly at the front to cut into the water more easily, leading to a flat planing area to build up speed. This in turn gradually leads to a large centre concave before two channels lead inward for the last quarter in the style of my foam bodyboard and similar to the channels on my Catch Surf Beater board. The base also curves upwards towards the rail by about a centimetre from about 7 cm in, similar to the Beater and The No 7 I made last year. The aim being to have a board that is more than competent finless with the option of adding two small, single FCS tab side bite fins that I will whittle up at a later date.


Fibre glassing resulted in a bit of a cock up on the bottom where I sanded through the glass in two spots as a result of not removing masking tape in time and having a nightmare trying to remove it, but in the main part it went okay.


It's always a bit heart wrenching when you take a lovely glossy epoxy coat and sand it back down to a dull matte but ultimately it's for the greater good. Fin and leash plugs where then fitted, a task made more complicated as a result of losing my spade bits.


And so it ends. The final job involved taking some nice pictures of the board before waxing her up, taking her out and putting up with the inevitable dings she'll experience during her working life.


As for the ride I've been more than pleased with the result. Base contours have worked extremely well at providing control and the lack of drag from the lack of fins and low rocker has made the board extremely fast. High volume means wave catching is easy though the heavy weight of the board means bumps are less enjoyable so definitely a board for clean days! I'm still interested to see how it will go with some fins.


