A vacuum pump or am industrial press would be nice but I don't have either of those so I have to find another way to make a skateboard more effectively than my last poor effort. As it happened though I finally decided to fill in the trench I'd dug in the back garden so thought I'd kill two birds with one stone.
Step 1 - Block of Foam
To form the right shape for the board a nice block of foam is easiest, this one was a block of xps insulation foam from my local hardware store which luckily was the same length as my maple ply.
Step 2 - Add Concave to the Deck
A nice concave in the deck will allow you to have more control under your feet, it'll also add strength to the board, more concave will mean less flex.
If you plan on having a lot of flex in your board you might want to consider adding a healthy rocker to your deck to avoid bottoming out or catching your wheels when turning.
The benefits of using a block of foam is that you can dial in your design in future models. For this particular board I was far to conservative with both the concave and the rocker, going to hack a lot more foam away next time.
Step 4 - Choose an outline
Pick your board design just remember that this is your board so be as radical as you like. For my board I'm attempting a replica of my next surfboard so it might look a little conservative but it will all make sense later.
Step 5 - Glue plywood sheets together
Now it's time to glue your wood together. I chose seven layers of 1mm maple ply but I suspect most ply will work, just remember that weaker wood will require more sheets to obtain the same strength.
Get yourself a nice flat platform and get to work with a foam roller and some wood glue, Titebond III is good; I was cheap and went for some common wood glue and regretted it. Important tip, be generous with your glue.
Step 6 - Seal glued plywood in plastic
Once you're glued, tape it to your foam jig and seal it in plastic to stop it getting messed up in your next step.
Step 7 - Bury the glued board
You're going to bury it. Of course it would be expensive to buy a load of dirt every time fortunately I'd been meaning to fill in the moat I'd dug (failed attempt at levelling it) so this was killing two birds with one stone for me. Any way ensure you bury it good so all the ply sheets are pressed tight together. Leave to dry for about 12 hours or so.
Step 8 - Cut outline
So dig out your board, trace your outline onto it and carefully cut the sucker out with your jig saw, or regular saw, whatever works for you.
Step 9 - Round off shape
Once you've got your shape, clamp it up and tidy up the outline, make sure it's got a nice smooth square edge with no lumps before you take the edge off it so it'll feel nice under the hand. Skateboardy.
Step 10 - Drill truck holes
Trucks are important and they are attached to your board with bolts so obviously you'll need to drill some bolt holes. Using a rubber spacer to align the bolts is a handy trick. Pencil outlines to mark where your trucks will be positioned can be sanded off later.
Step 11 - Sand in arches
Big wheels, wide deck and low riser pads mean the wheels might be prone to catching, resulting in pretty dramatic braking. To give yourself a bit more space sand in some arches, I used an angle grinder with a sanding pad to do the business work before tidying it up with an aerosol can wrapped in sandpaper.
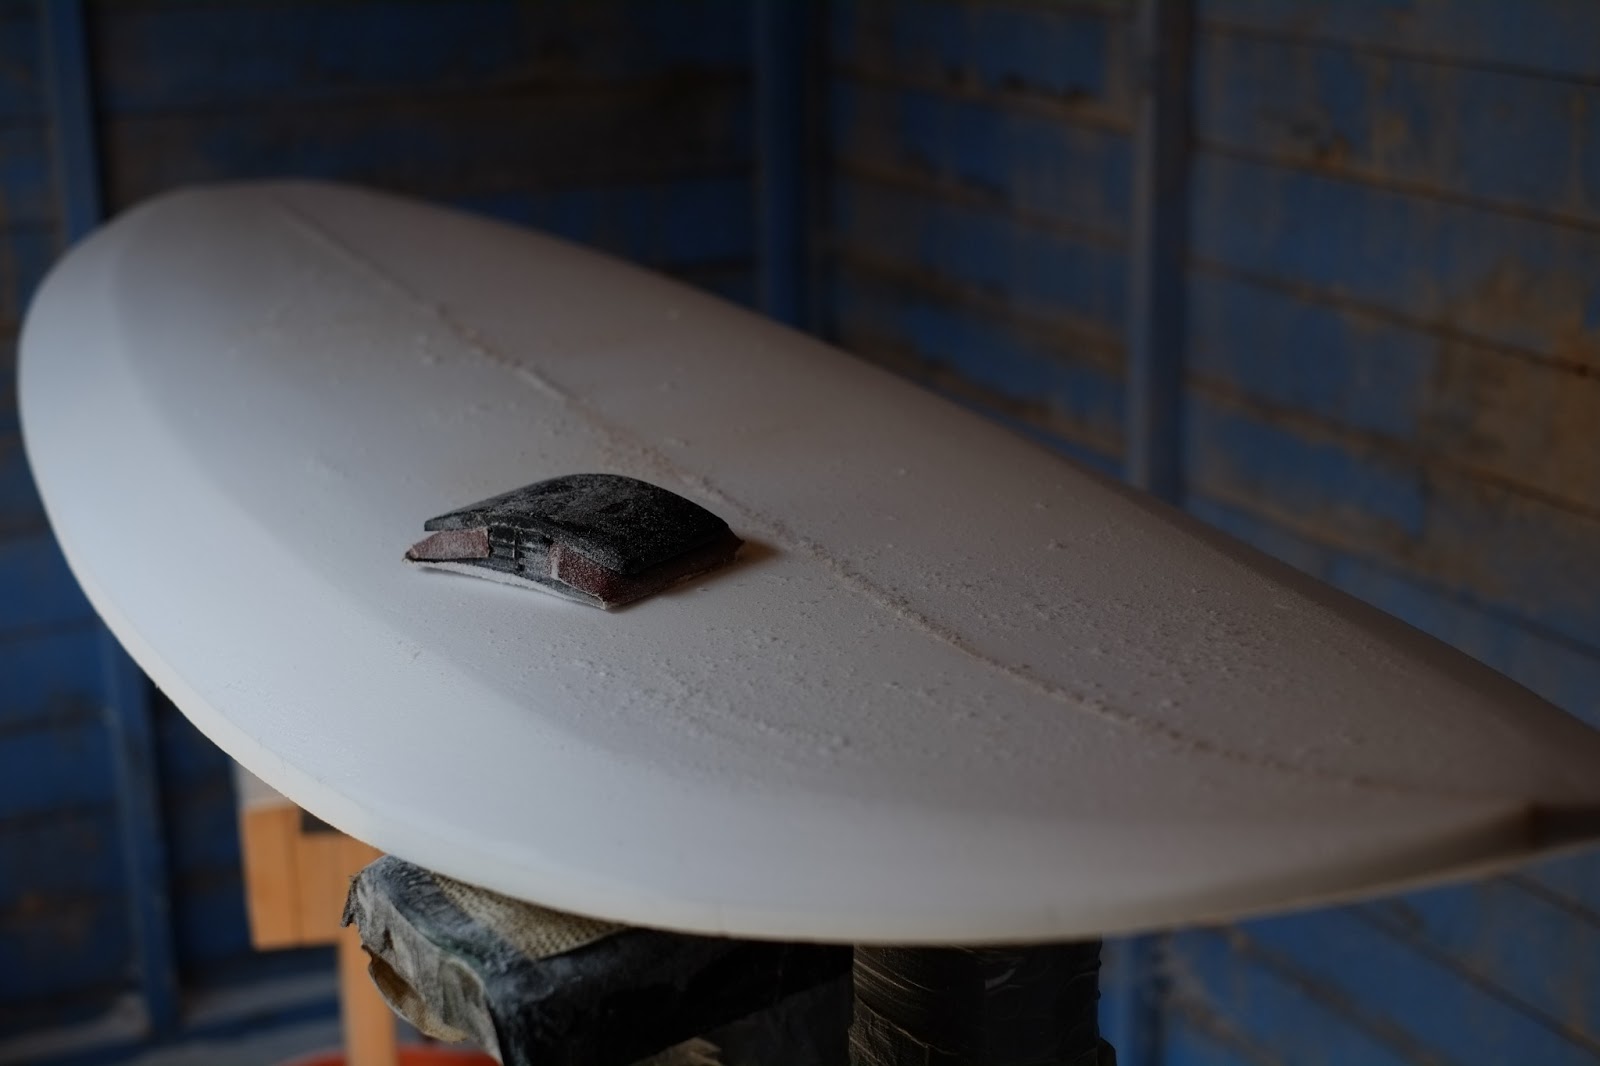
Finish your board off with some high grit sand paper to give it a nice smooth finish before your next step.
Step 12 - Painting your design
Your board, your design. Go nuts! Like I mentioned earlier, this board is going to be a mini replica of my next surfboard, there is a reason behind it honest (mainly coming from my recent watching of Banksy's film 'Exit Through The Gift Shop')
Step 13 - Applying grip tape
This bit isn't fun but is important. Start by peeling the backing off completely, then starting from one end hold the tape at a 45 degree angle and push the tape down along the deck, pressing down flat as you go. If you do get some air trapped, burst with a razor blade and press flat.
Using a blunt instrument, such as a screwdriver, press around the the edges to get a nice white line. Then using a razor blade, held at a 45 degree angle, pull along the white line all the way around your board. Using some of the scrap tape, sand around the edges to tidy it all up. Lovely.
Step 14 - Attach the hardware
I can't stress how important this step is. Without hardware your skateboard is just a board. With that in mind attach wheels to your trucks and trucks to your board, not forgetting to stick some spacers between them for a nice fit.
Now go and show all your friends your shiny new board before you ruin it, have fun.